Trending

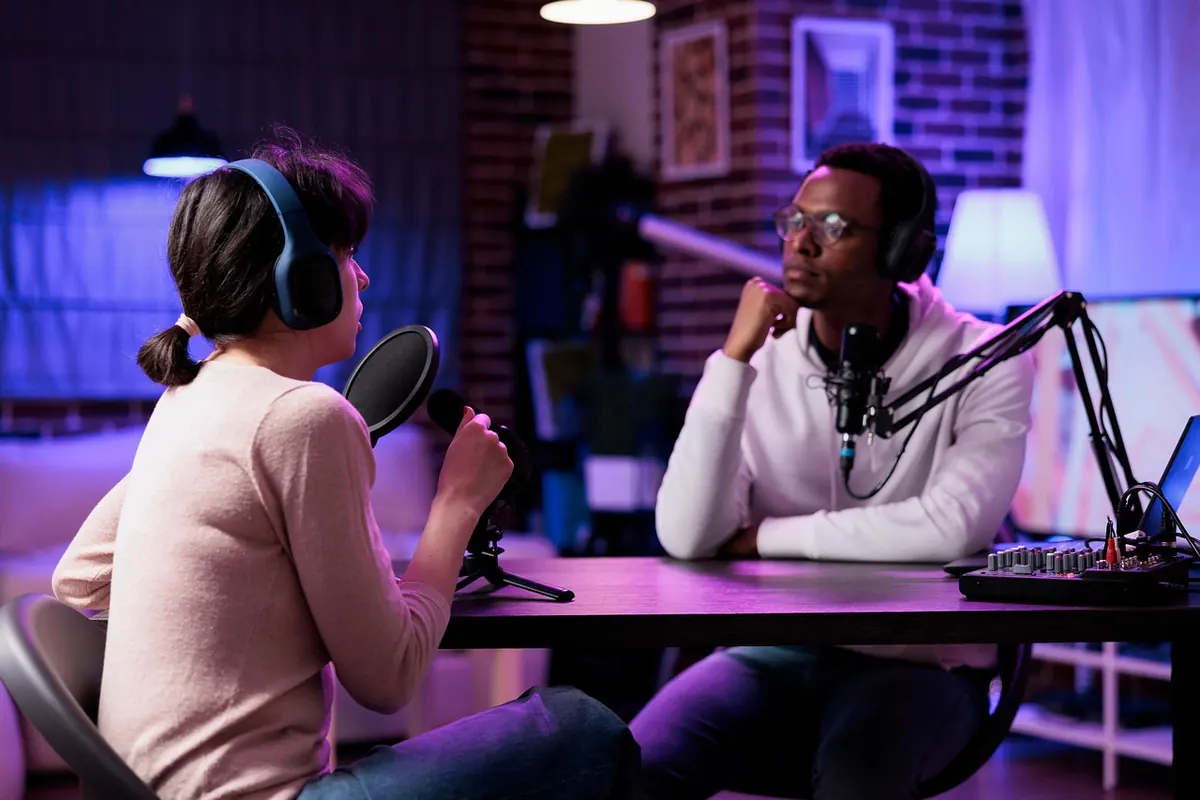
You do not need a treated studio, a rack of outboard gear or a spare bedroom to make a podcast that sounds good. You need a quiet room, one sensible microphone and the habit of listening back to your own recordings with a critical ear. The trick is knowing which corners can be cut safely and which ones will haunt every episode you publish.
Where you record matters more than what you record with. A voice captured in a small, furnished room with soft surfaces will beat the same voice recorded on expensive equipment in a kitchen with tiled floors and bare walls. Before you buy anything, walk around your home and clap. Rooms that return a long, ringing tail will fight you; rooms that sound flat and slightly dull will flatter you.
Good candidates are a bedroom with a carpet, a bed, curtains and a wardrobe full of clothes. Bad candidates are bathrooms, kitchens, hallways, conservatories and anywhere with a large window directly behind or in front of the microphone. Once you have chosen, sit so that soft surfaces are both behind you and in front of you, keep the microphone at least a metre from bare walls, and stay out of corners, where low frequencies collect.
Two families of microphone do most of the work in podcasting. Condensers are more sensitive and capture more detail, which is wonderful in a treated room and unforgiving in an untreated one. Dynamics are less sensitive, need more gain from your interface, and shrug off a fair amount of room sound and background noise. For most home setups, especially shared houses and rooms with hard surfaces, a cardioid dynamic microphone is the safer first purchase.
Then decide how it connects. USB microphones plug straight into your computer: one cable, no interface, and perfectly good results for a solo show. The trade-offs are fewer options later, occasional trouble with noisy USB ports, and awkwardness when a second person joins you. XLR microphones need an audio interface or a recorder, but they let you change one part of the chain at a time as your needs grow.
Technique is free and matters as much as the microphone itself:
If you go the XLR route, an audio interface is the box that turns your microphone's signal into something your computer can record. Look for as many XLR inputs as you have people, 48-volt phantom power if you plan to use a condenser, a headphone output with direct monitoring so you hear yourself without a delay, and gain knobs that reach a healthy level without hiss. Ignore anything sold as a streaming mixer with rows of buttons and sound effects; you will usually spend more and record worse.
Two practical habits. Keep microphone cables away from power supplies, phone chargers and laptop bricks, which can introduce hum. And set your gain so that ordinary speech peaks well below zero on the meters — around −12 dBFS is a comfortable target. Clipping is the one problem you cannot repair afterwards.
Reverberation, not background noise, is what makes most home recordings sound amateur. Some background noise can be reduced with software. A room ringing around your voice cannot.
You do not need to build a booth. You need to break up reflections and absorb some of the energy:
Thin foam tiles sold as acoustic panels absorb mostly high frequencies and can leave a room sounding boxy. If you buy panels, buy thick ones and place them where your voice actually reflects: the wall in front of you, the wall behind you, and the ceiling if it is low.
Software is where the least of your money should go. Audacity is free and perfectly capable for a two-track conversation. GarageBand, bundled with Macs, is generous. Reaper offers a long evaluation period and an affordable licence. Any of them will record, cut and export what you need.
Settings that serve almost everyone: record in WAV at 24-bit, 44.1 kHz or 48 kHz. Record a short test, set your levels, then leave the settings alone. Edit with restraint. Removing long silences, coughs and false starts is good practice; removing every breath makes a host sound like a machine reading a script. Use noise reduction gently, in small amounts, and check the result on headphones before applying more.
If you interview people remotely, ask them to record their own side locally when they can, and record yours too. Two clean local files will always beat one compressed call, and a spare recorder running as a backup costs you nothing but a button press.
Closed-back headphones are the right choice for recording. They keep speaker sound out of the microphone and let you hear what you are actually capturing. If you monitor through speakers with a live microphone, you will get echo or feedback.
Before every episode, record two minutes and listen on phone speakers, laptop speakers and headphones. If it sounds clear on all three, you are ready.
Do not wait for equipment. The upgrades worth buying, in order, are a better room, a better microphone, a better interface, and only then anything else. Each of those steps costs less than the studio you were about to build. If this is business spending, keep your receipts and ask an accountant what you can claim.
Photo: danielchrisman / Pixabay